

Introduction
If you are a web3 developer, chances are you've already heard of RainbowKit. It's a great React library built on top of wagmi, which is built on top of ethers.js which makes it easier for us devs to add wallet connections to our applications. The DX is very intuitive and the components are heavily customizable. They are in the process of switching from ethers js to viem.sh.
There are a lot of chains that work out of the box with RainbowKit. You can check the entire list of supported chains here. However, if the chain we want to use is not there in the list, it's not a limitation and we can add a custom network. That's what I did during ETHForAll because I wanted to use a relatively new network called Mantle which was (and still is) not supported by default. I'll be using it in this blog too! So, without further ado, let's see how we can add a custom chain to RainbowKit!
Setting Up the App
Run this command in your terminal to create a boilerplate NextJS application
npx create-next-app@latest
If prompted, install the dependencies and then give your project a name. On the prompts about your project's configuration that show up after this, just keep answering "no".
If you're using VS Code, navigate into your project's folder by using cd your-project. Once you're there, type code . -r in your terminal to open a VS Code window in that folder.
Open up your terminal again and start a development server like so:
npm run dev
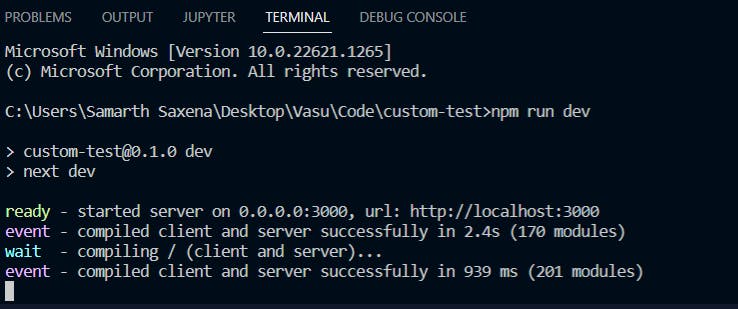
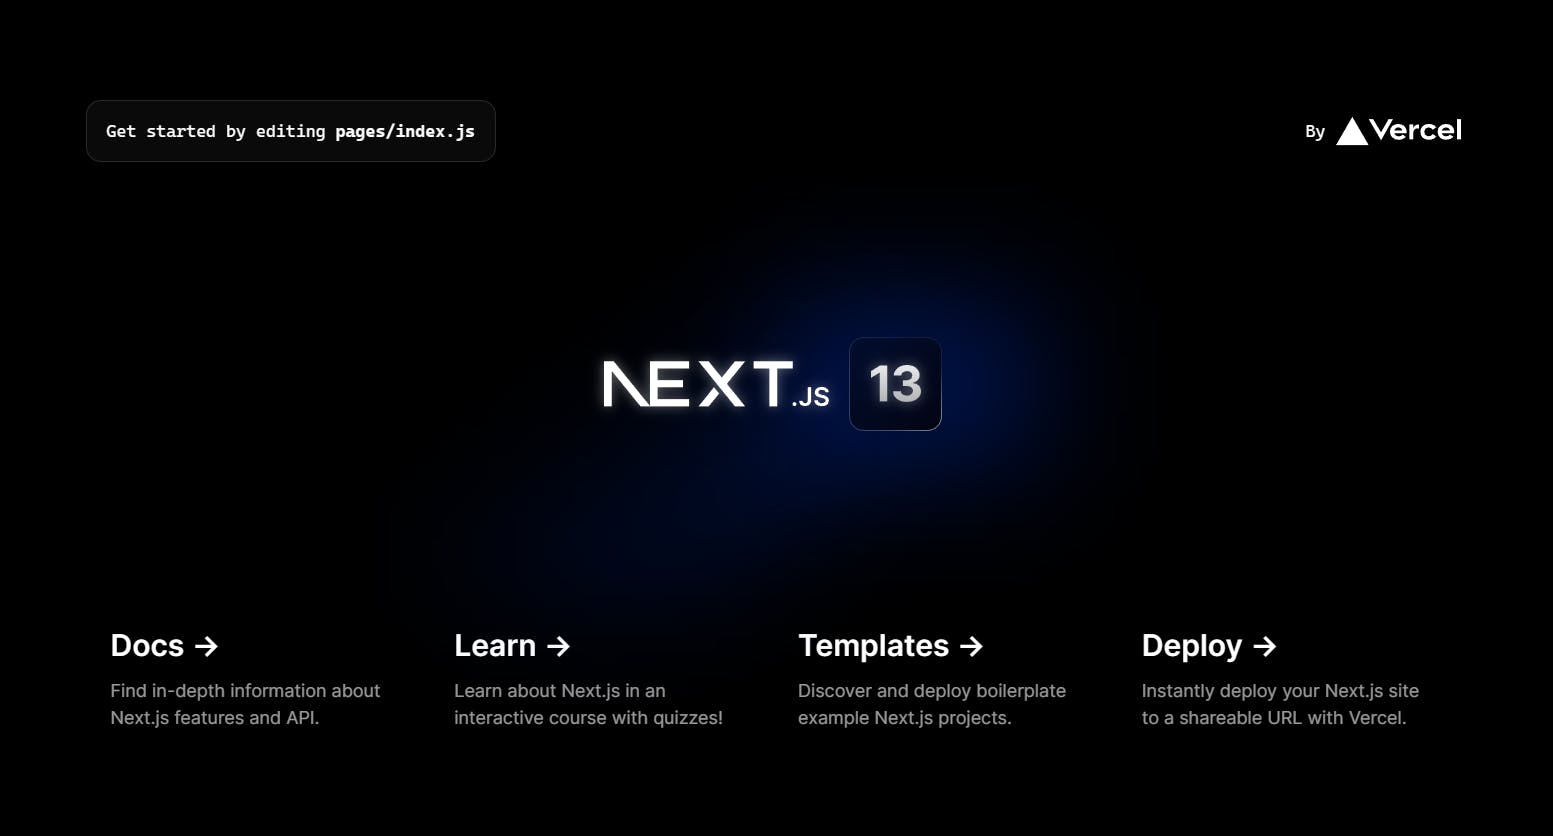
You should see something like this on localhost:
Starting RainbowKit Setup
Make sure your terminal is pointing to your project's directory and then run this command:
npm install @rainbow-me/rainbowkit wagmi ethers
The above will install RainbowKit in our app. We are not gonna do anything fancy now as our main goal is to make RainbowKit work with a custom network. I'm not too concerned about the styling and am quite happy with what the boilerplate page looks like lol. We'll just add a connect wallet button replacing the part that says 'by Vercel'.
Go to your app.js file and add the following imports:
import '@rainbow-me/rainbowkit/styles.css';
import {
  getDefaultWallets,
  darkTheme,
  RainbowKitProvider,
} from '@rainbow-me/rainbowkit';
import { configureChains, createClient, goerli, WagmiConfig } from 'wagmi';

import { jsonRpcProvider } from 'wagmi/providers/jsonRpc';
We have added goerli because Mantle is not the only network that we want to use. If you want to use other networks (which are included in the list) as well, you can add them too.
The Main Object
Since we want RainbowKit to work with a network that it doesn't support by default, we need to give it more information about the said network. See how we imported goerli from wagmi? Well, it's just an object that describes goerli. We want to create an object along the same lines describing Mantle's testnet. Of course, first, we ourselves need to get information and you'll probably have to do a little digging for whichever network you're using.
We need:
the Chain ID of the network. This should be very easy to find on the website of whichever network you're using.
the Native currency of the network along with the decimal value, which is by default 18 in EVM-compatible chains
an RPC endpoint for sending requests to the network. In my case, I couldn't use dedicated RPC node providers like Alchemy and Quicknode because they don't support Mantle yet. I had to go with a public RPC url which I found in Mantle's docs.
Optionally, we can also have:
an icon url and background
a block explorer url
a property which specifies if the network is a testnet or not
So let's create an object called mantle! This is what it will finally look like:
export const mantle ={
  id:5001,
  name:"Mantle Testnet",
  network:"mantle",
  iconUrl:"https://i.imgur.com/Q3oIdip.png",
  iconBackground:"#000000",
  nativeCurrency:  {
    decimals:18,
    name:'BIT',
    symbol:'BIT'
  },
  rpcUrls:{
    default:{
      http:["https://rpc.testnet.mantle.xyz"]
// public rpc url
    },
  },
  blockExplorers:{
    default:{name:"Mantle Testnet Explorer", url:"https://explorer.testnet.mantle.xyz"}
  },
  testnet:true

}
wagmi Configuration
Now, we want to pass all this info to wagmi for configuring our app. We'll use its configureChains function to specify which chains we want to use. We'll use the object we created in the previous section along with any other chain we want. This will give us an array of objects called chains, which we are destructuring directly. We are also destructuring a variable called provider. Then, we'll destructure a variable called connectors from getDefaultWallets, which we also get from wagmi. Then, we use createClient to finish setting things up for wagmi. So just copy and paste this piece of code:
const { chains, provider } = configureChains(
  [mantle, goerli],
  [
    jsonRpcProvider({
      rpc:chain=>({http:chain.rpcUrls.default.http[0]})

    })
  ]
);
const { connectors } = getDefaultWallets({
  appName: 'My RainbowKit App',
  chains
});

const wagmiClient = createClient({
  autoConnect: true,
  connectors,
  provider
})
Finishing it Up
Go to the return statement of the same file and wrap it with RainbowKitProvider and WagmiConfig like so:
export default function App({ Component, pageProps }) {
  return(
  <WagmiConfig client={wagmiClient}>
     <RainbowKitProvider chains={chains} theme={darkTheme()} modalSize="compact">
  <Component {...pageProps} />
  </RainbowKitProvider>
    </WagmiConfig>
  )
}
Now, go to index.js and add this import:
import { ConnectButton } from '@rainbow-me/rainbowkit';
Now we want to replace the "by Vercel" part. It's in the second div (nested) inside the main tag. Just replace the pre-existing div with a div containing the ConnectButton component. Your code should look something like this:
<div className={styles.description}>
<p>
Get started by editing
<code className={styles.code}>pages/index.js</code>
</p>
<div>
<ConnectButton />
</div>
</div>
And It's Done!
Yeah, that's pretty much it! That was all there is to it! Your page should look something like this:
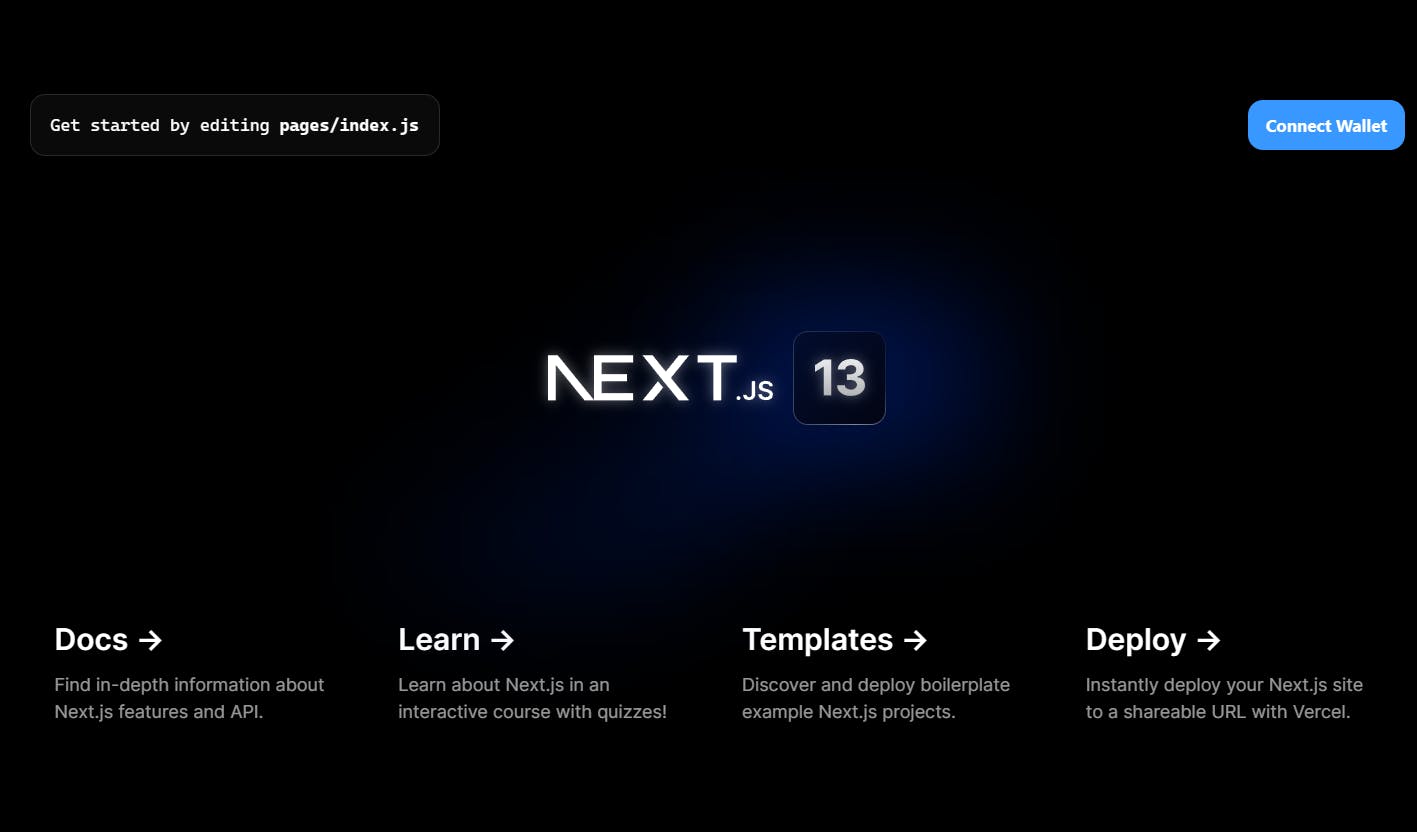
and after connecting:

Conclusion
We have just made RainbowKit work with a custom network. Usually, we won't need to do such things as it already supports a whole lot of chains out of the box. But for the rare case that it doesn't, well, you now know what to do!
Thank You

Thanks a lot for reading this blog to the end! I hope you enjoyed it and learnt something new. Until the next one 🫡